+201066113000 info@indoor-innovations.com

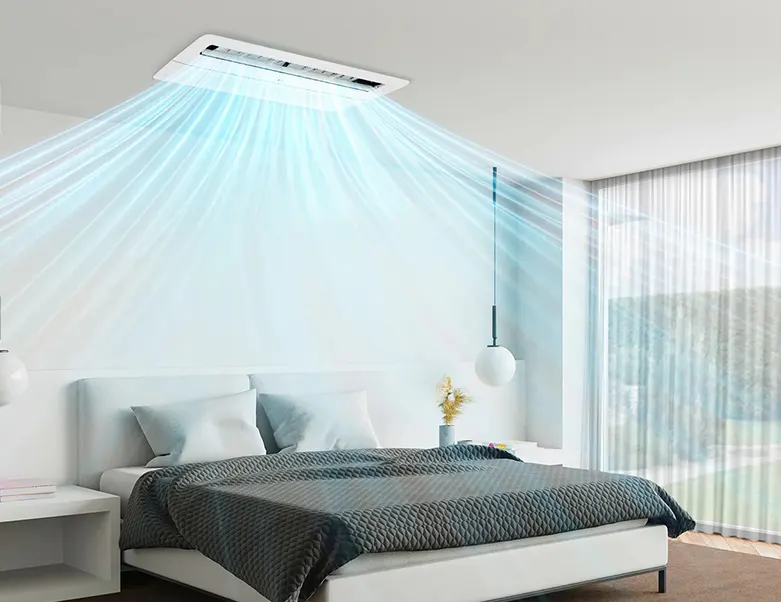
Choosing central air conditioning is one of the most important steps that guarantee reaching the best temperatures and low humidity levels so that all family members can enjoy a pleasant and refreshing atmosphere inside the house. Reaching this goal require assigning the design and implementation work to engineers specialized in the field of central air conditioning to ensure that the following technical specifications are met:

Basics of calculating the capacity of central air conditioning required to cool a building:

1- The area of ​​the place in square meters must be determined first and the height of the building as well.

2- It must be determined what the activities are for the place, for example if there is a place with restaurants and kitchens that are considered a source of high temperatures because there are ovens, stoves, and refrigerators, and all these devices are a source of heat.

3- The location of the building, as there are buildings that are in contact with the sun’s rays throughout the day, and there are buildings that are not in the context of sunlight and heat throughout the day. Determining the location of the building is of course not the main factor, but it is a secondary factor.

4- Types of insulators for walls and ceilings. This plays a very big role, and the central air conditioning engineer takes it into account to determine the capacity of central air conditioning.

5- The number of windows or windows in the building, and whether or not any of the walls has a higher temperature than the rest of the walls.

Advantages of using central air conditioning:

1- Central air conditioning provides cooling for a larger area than normal split air conditioners and has less electricity consumption if several split air conditioners are used at the same time.

2- Central air conditioning is easy to maintain because the components of the central unit are far from the place to be installed.

3- Central air conditioning is less noisy because the central unit is far from the building.

4- It is easy to distribute fresh air in all corners of the building evenly because it uses ducts.

5- There is no drain of water from the central unit and the power cables do not obstruct the building.

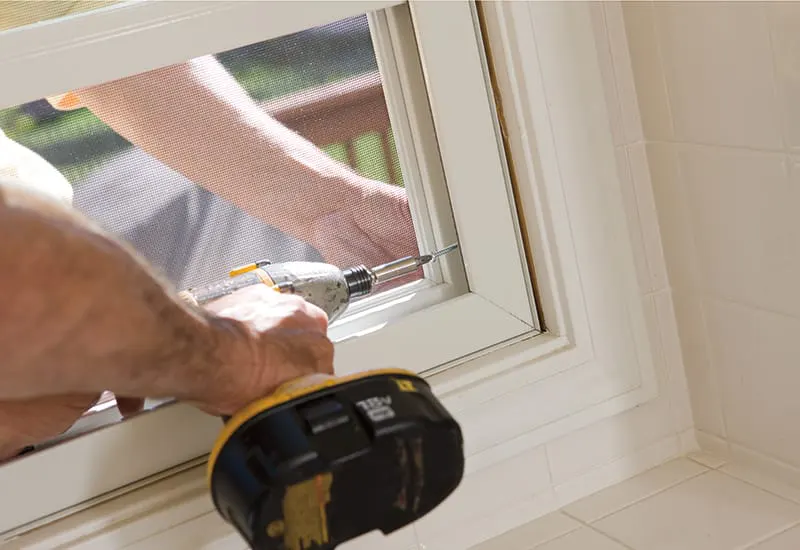
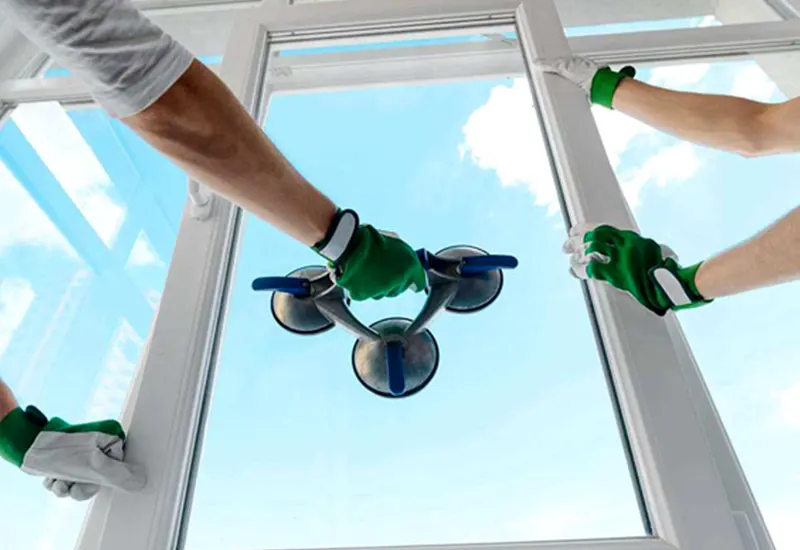
The stage of installing Alumetal is one of the very important stages in finishing works, which must be carefully selected by the executing company, due to the important role that the design and installation of Alumetal plays in showing the aesthetic shape of the house or a building, and the Alumetal item in most cases has a high cost and It is very difficult to re-process. Therefore, there is always a large discrepancy in the prices of Alumital.

What are the reasons for the discrepancy in Alumital prices?

1- Fitting: It means matching the sections responsible for preventing the entry of any air, dust or sound as well, and every degree of accuracy in finishing work controls the price of the section.

2- The glass in the section will be one or two (Single or Double)?

3- What is the degree of its sound sealing? Or is it completely soundproof?

4- Are there additional accessories imported to increase dust resistance, such as brushes?

5- Are there additional imported accessories to add an aesthetic look to the window?

6- The type of rollers to be installed, its quality and its life span.

What types of sections are available in the market?

1- Al-Saad section, which is one of the oldest sections, but it is currently very light and we do not recommend it.

2- PS sections, and there are small and large ones, including tractors, including articulated ones.
This type of sections is very good and is a great dust and sound insulator, and it is reliable in areas with dense dust, and it is of reasonable cost for use in residential projects.

3- Sherif Ali Hassan sectors, including Jumbo, which is used for large areas, Tango, and is used for small areas, Nano, Tempo, Rock, Samba… and others, but Tango and Jumbo are the most popular and most widely used.
The Sharif sector is one of the best sectors in the Egyptian market and is of French origin.

How is Alumetal finishing works being received?

1- It is received after the installation stages are completed and it is perfectly adjusted and there are no scratches or deformations and all the accessories are well installed and intact.

2- The process of repeated opening and closing is done well, making sure that it is smooth in opening and closing and does not stop in the middle and also does not move after opening.

3- Ensure that it does not have any friction during opening and closing.

4- Shake the window well and make sure that it does not lose or move in the direction perpendicular to its duct.

5- Ensure that all rollers and accessories are in place and well installed.

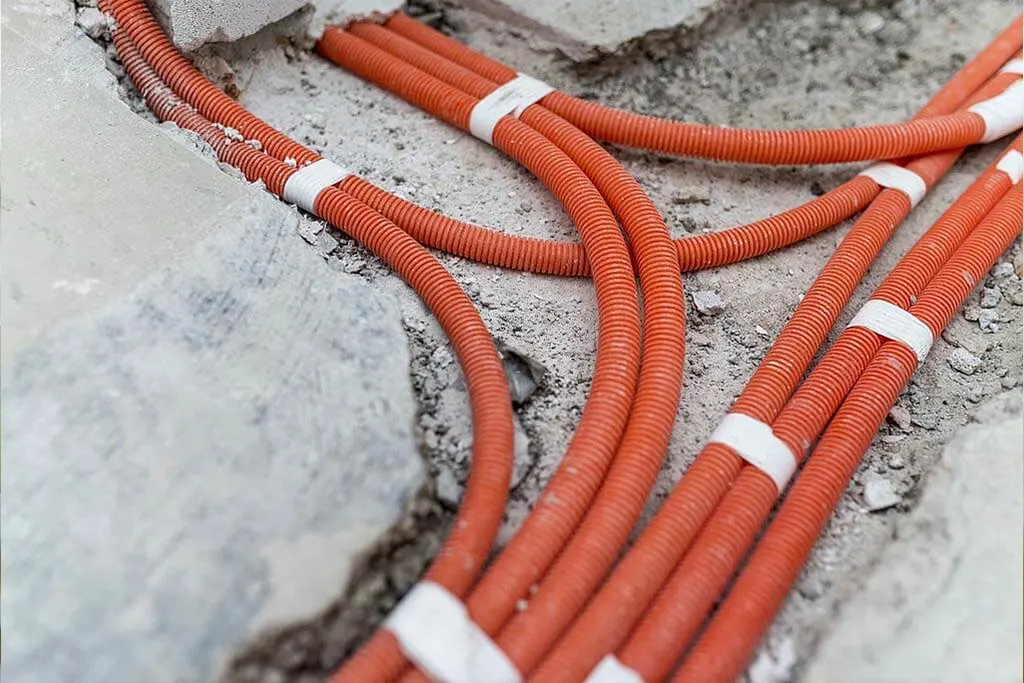
We often hear about many problems that occur in homes due to electrical errors, which sometimes result in disasters, and this is often due to errors in the process of establishing electricity in the house. The stage of establishing electricity is among the stages of finishing the apartment, in which the pipelines carrying all cables are extended Electricity used for household appliances, lighting, air conditioning and all services that operate with electricity, and this stage is considered one of the most important stages because the error in it is not that easy and can cost a lot while fixing. Therefore, we through the specialized engineers, calculate the loads and determine all the technical standards for the characterization of the wires and the required electrical circuit breakers for design and implementation stages.

In order to reach the highest efficiency in distributing the electricity network inside the house, the locations of the house furniture must initially be determined so that the optimal location for the switches and sockets is known, and it is better to prepare the air-conditioning switches first.

Stages of establishing electricity in the house during finishing works?

The first stage: includes digging walls, floors; In order to extend the places of the pipes, the hoses inside the power cables, the installation of boxes in the walls, floors.

The second stage: the boxes are installed in the walls and floors. Then electrical pipes or hoses are installed; In order to extend the cables inside.

The third stage: This stage consists in pulling the wires or cables inside those electrical pipes and then assembling them in the boxes of each power point.

The fourth stage: It includes assembling all the sub-electricity lines in the main electrical panel and installing the circuit breakers for each line according to the specific load distribution based on the load distribution design of the unit.

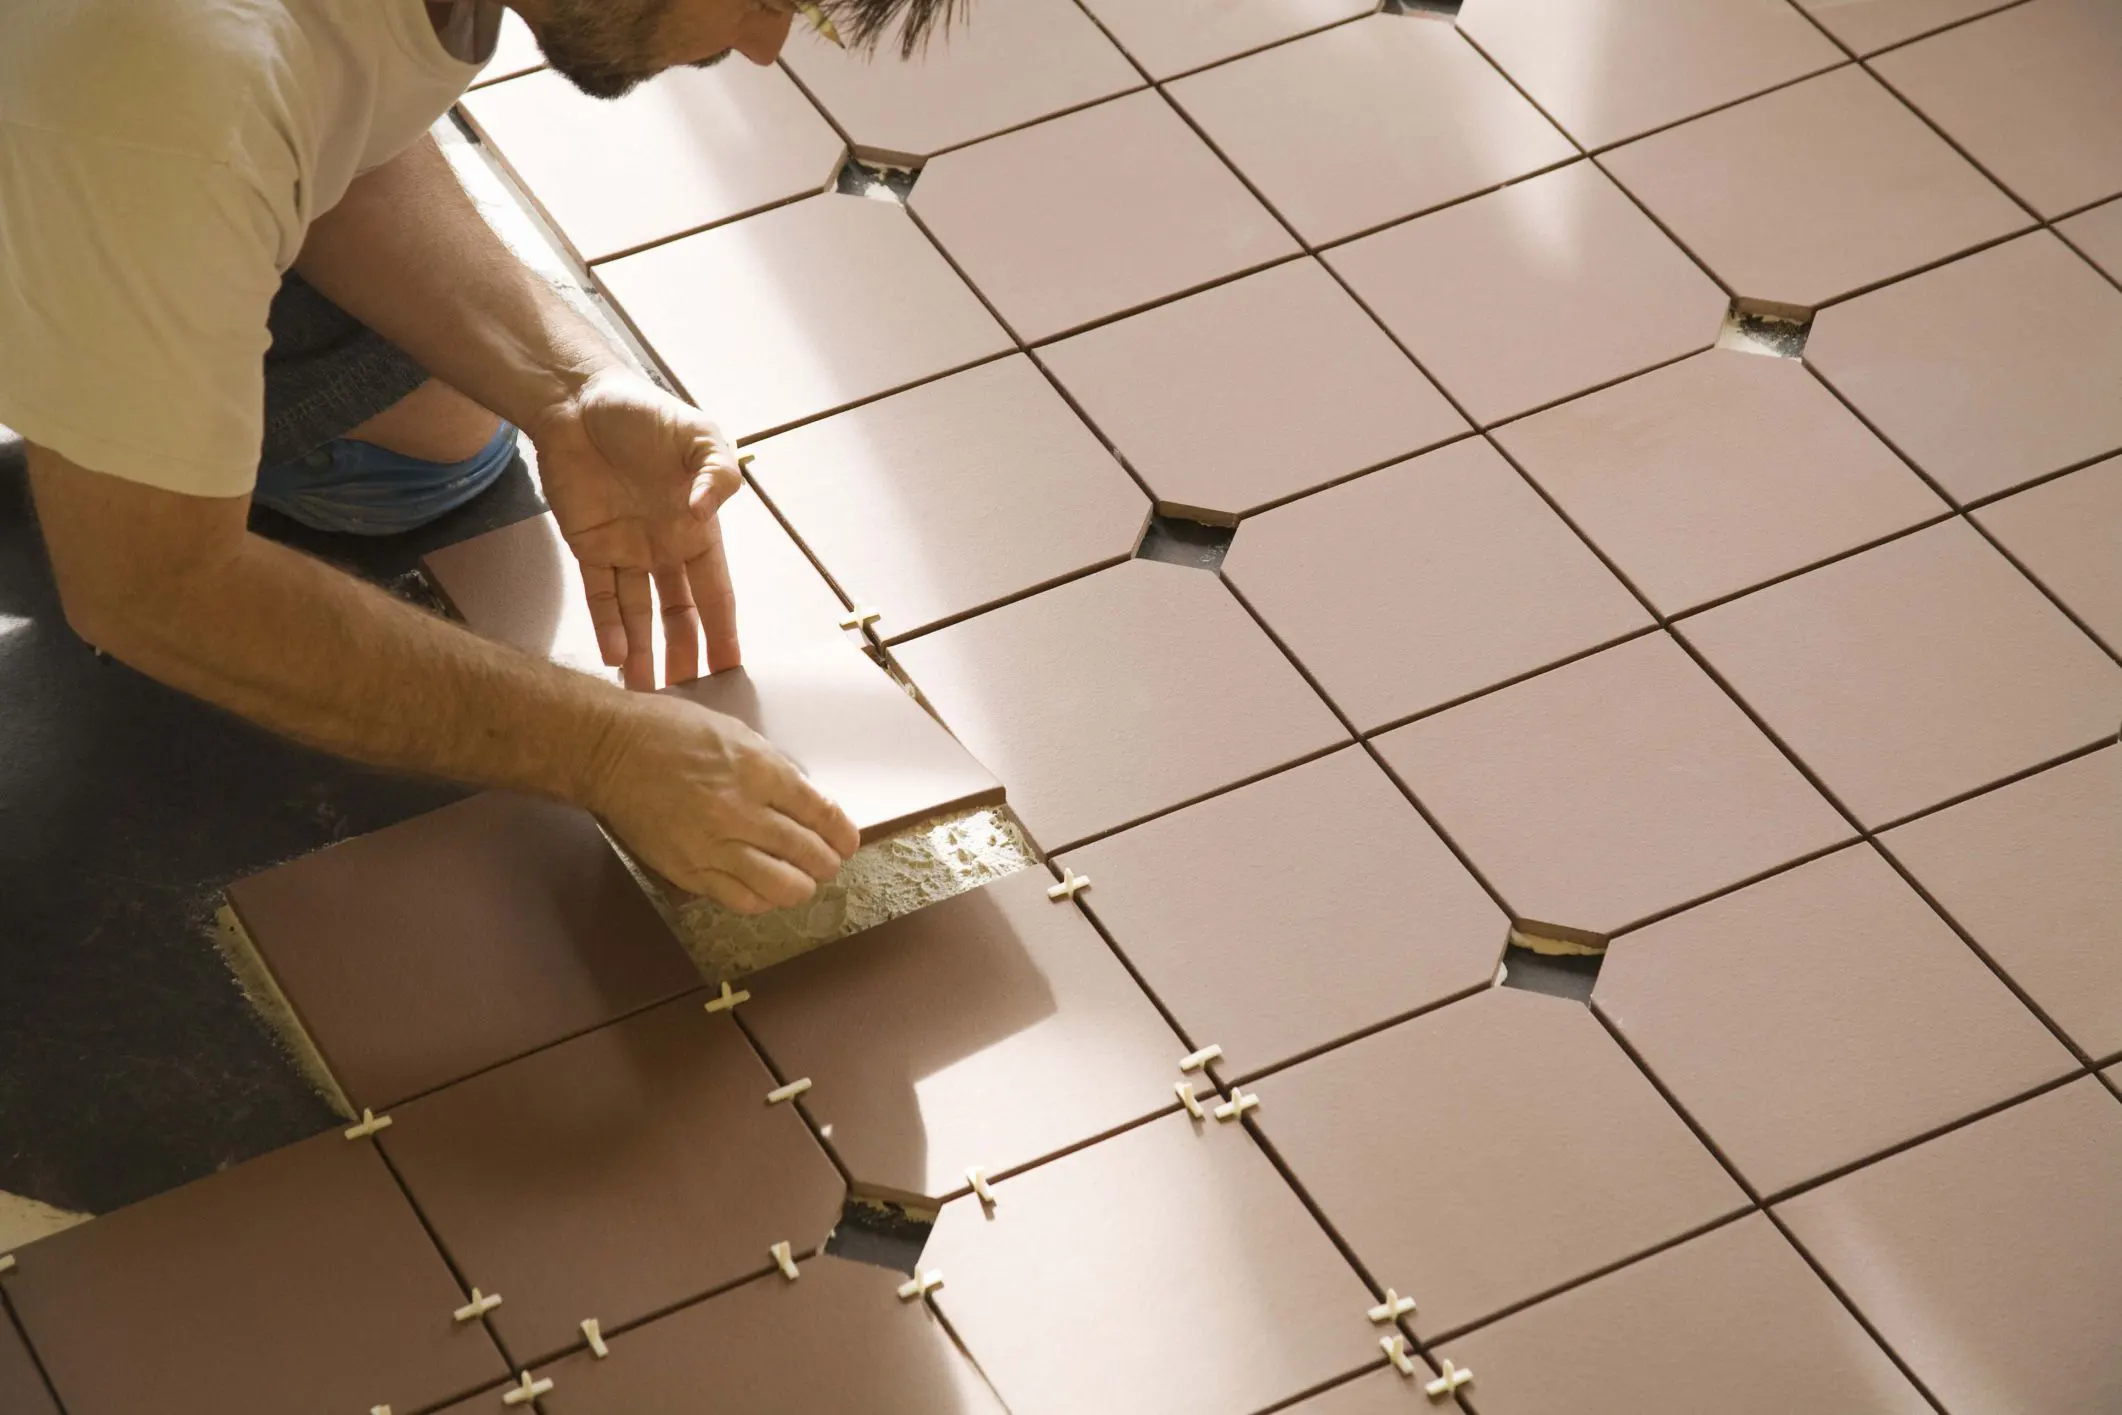
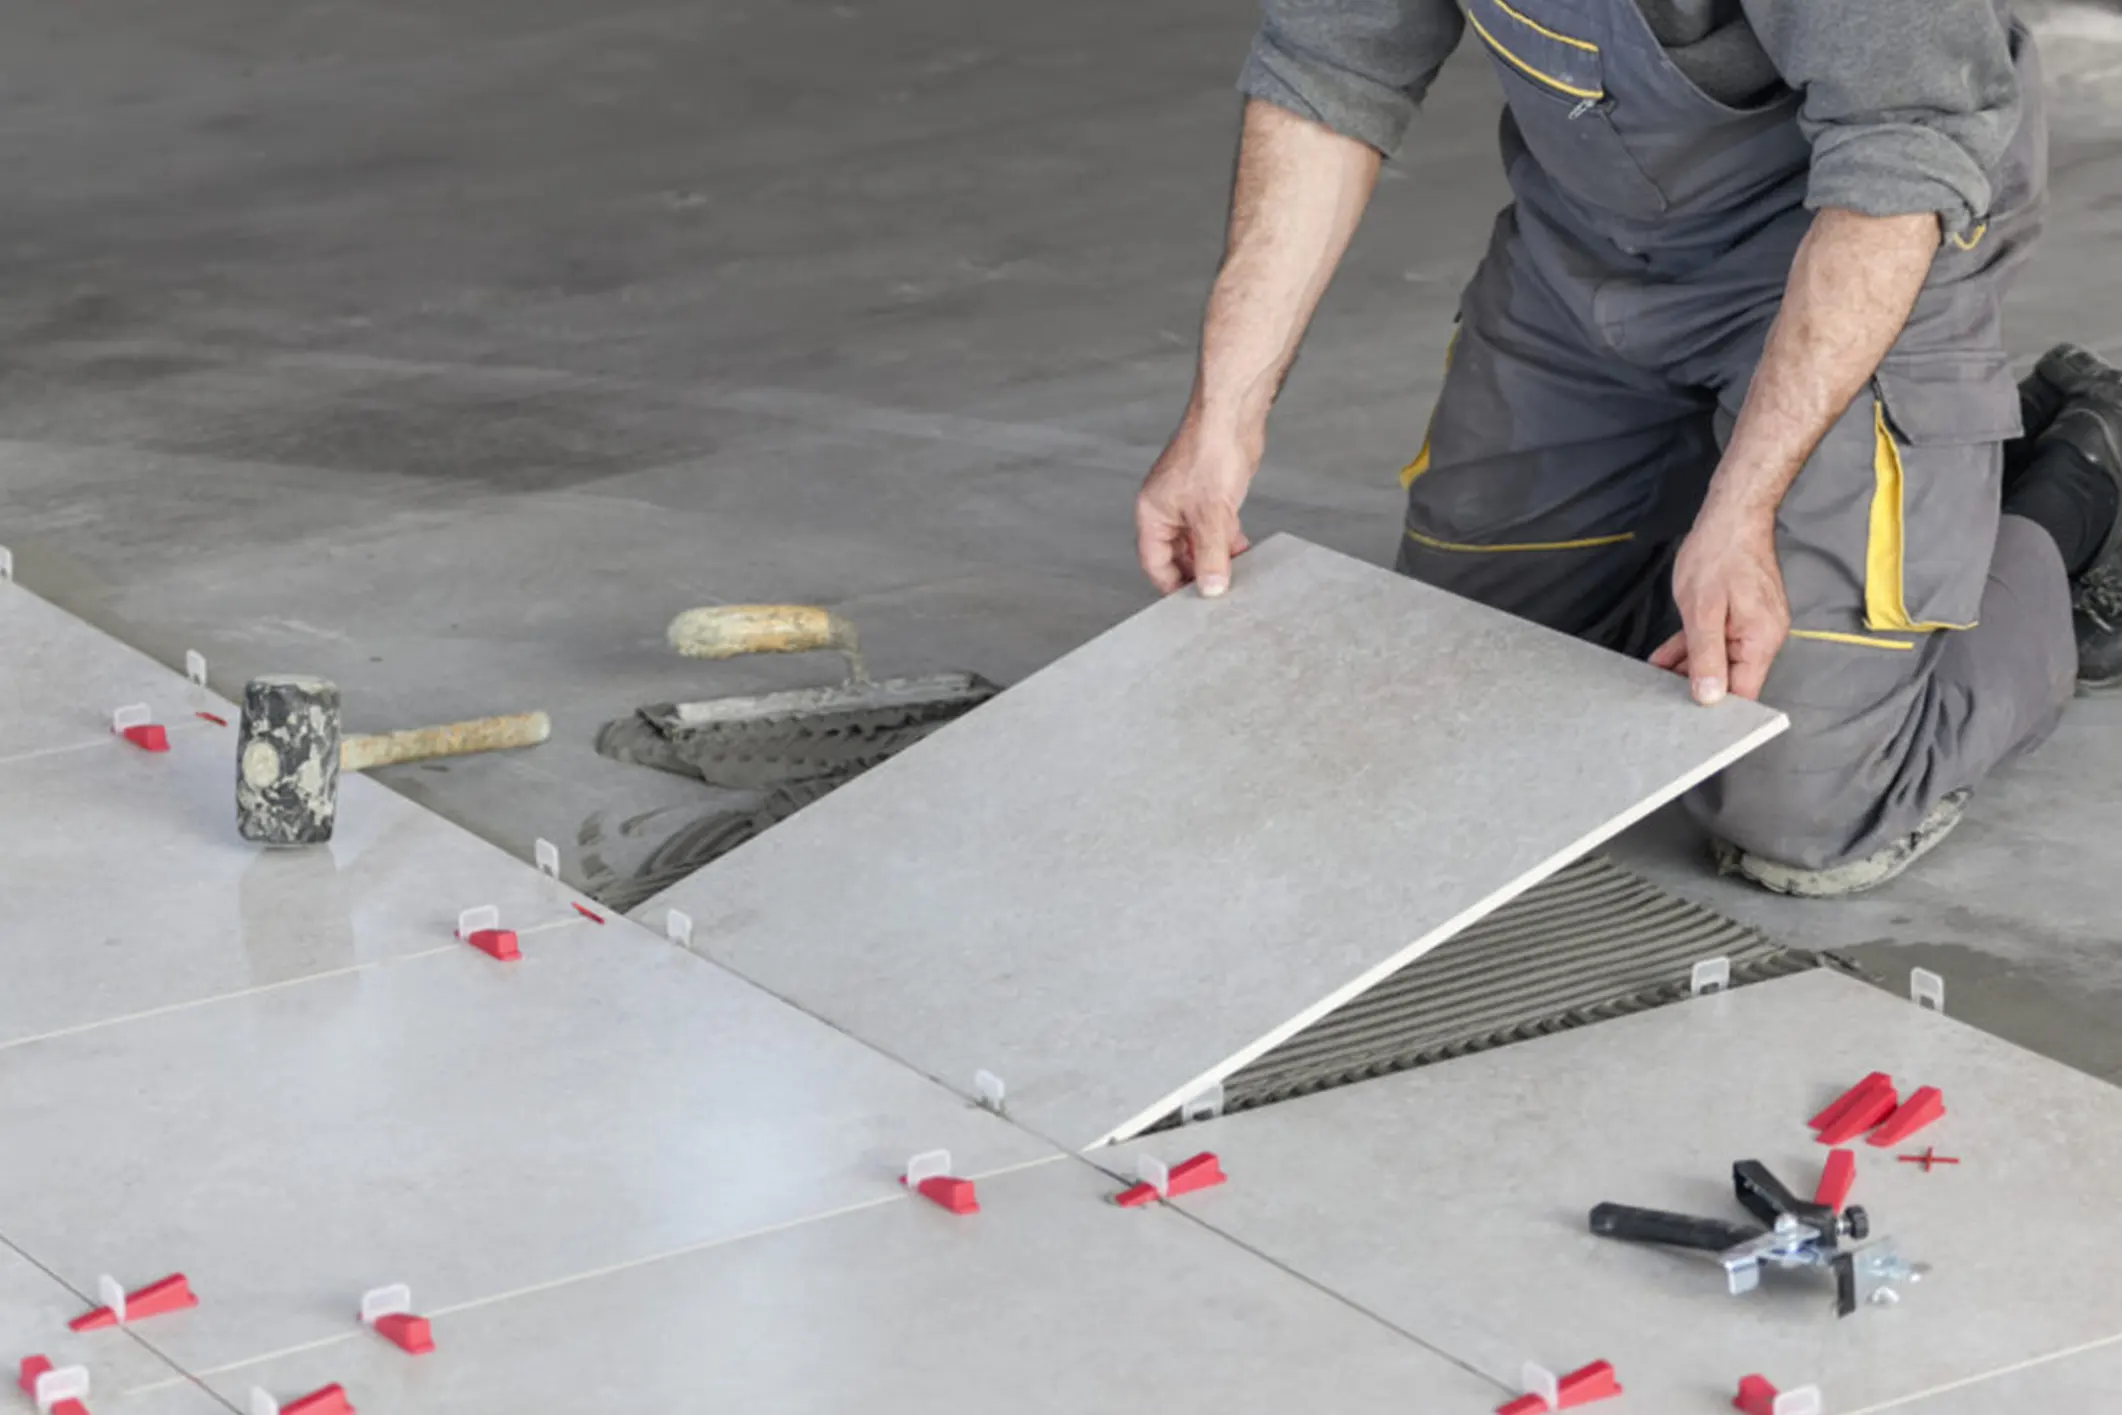
For each stage of the home finishing there are foundations that must be adhered to from the technical side, and here we will discuss the flooring stage. The installation of ceramics is an important process that should not be neglected or left to the ceramic installation technician without supervision from a specialized finishing company.

Steps to properly install ceramic or porcelain floors:

Before tiling, it is necessary to make sure that all hoses and electrical supplies that are placed on the floor of the house are completely finished; Because the ground electrical piping are important in the installation of all light switches and ground electrical sockets, and they cannot be modified after the flooring installation phase is over.

Finishing the wall cladding process and installing the interior doors; To avoid any strong knocks and shocks to the tiles, especially if they are ceramic, and to determine the appropriate matching color with the ceramic.

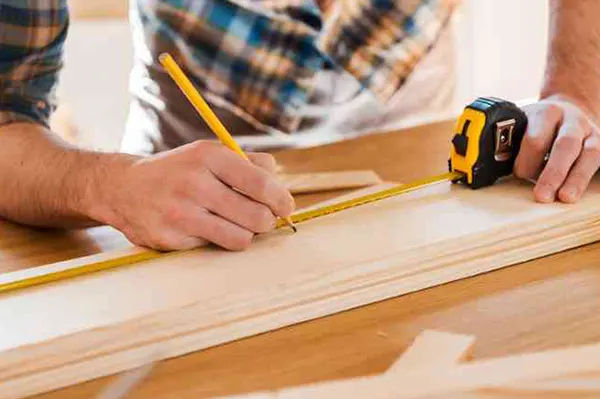
Take measurements well more than once, taking into account the ground atoms; Where it takes up an area of ​​about one cm, in order to avoid cutting the ceramics too much and destroy the general appearance of the floor of the house from the sides of the walls that appear most of the time,

It must be ensured that the edges of the ceramics are equal and there is no aliasing, especially when buying the second sort or the third sort and other lower grades than the first sort, which is more expensive.

The difference between ceramic and porcelain:

Ceramic is a strong material; however, it is easy to form and goes through stages of cooling and heat treatments, which increases its durability and hardiness. It is a solid material that is difficult to penetrate or puncture and is made of inorganic and non-metallic material, and its sizes vary as well, and its use has spread in floors after it was used in bathroom and kitchen walls; For easy cleaning and for the aesthetic appearance it reflects.

As for the porcelain, it has been used a lot in the recent period, despite its high price, and the porcelain has a wonderful look with the decor of the house, it is large in size and is marble, it is very durable and withstands shocks and is more durable than ceramic, as well as easy to shape like ceramics as well.

Gypsum Board is s plates of a German origin called gypsum or plasterboard, made of a mixture of gypsum, fiberglass, silicone, and foamed foam. Various decorations, and recently they are being introduced into building decorations inside homes to give them a special and distinctive touch with different types of lighting.

Gypsum board is available in different sizes and lengths that vary according to demand, and there are three types of it, including regular gypsum board in ivory white on one side and on the other side it is brown or gray, and another type is fire-resistant, wrapped on one side with cardboard and on the other side with a red cover, and the last type is fire-resistant. The heat and humidity are condensed into silicone and fiberglass to provide the inner gypsum core with strength and durability, and it is covered on both sides with a layer of treated cardboard reinforced in green, the latter being the best and finest types.

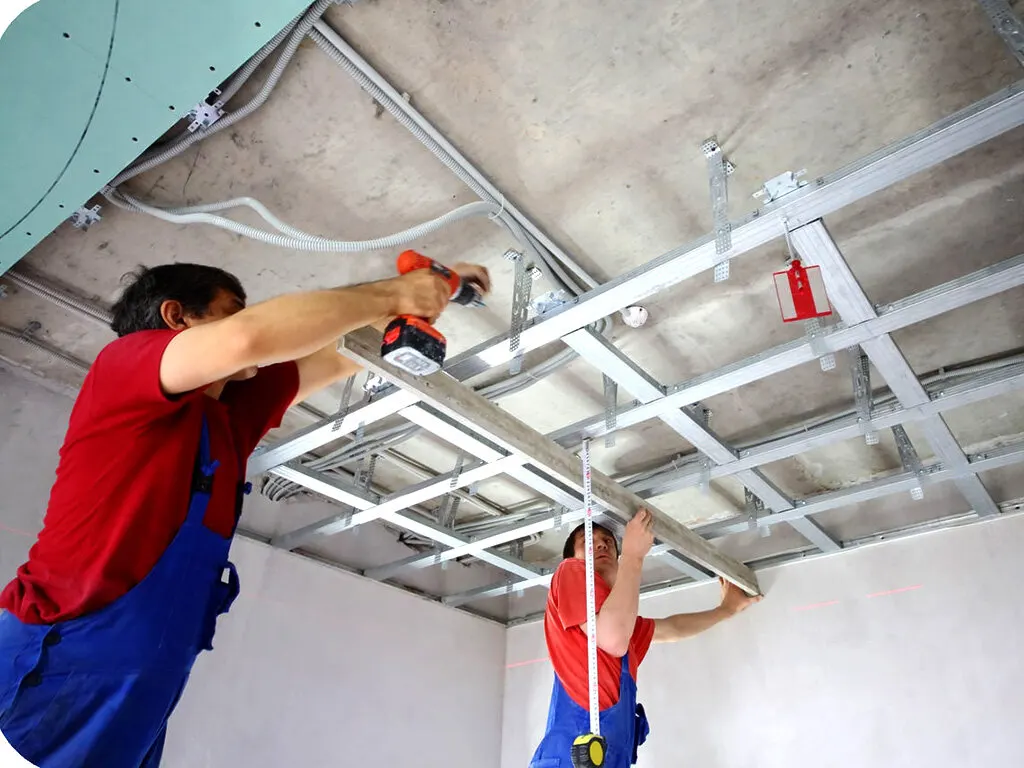
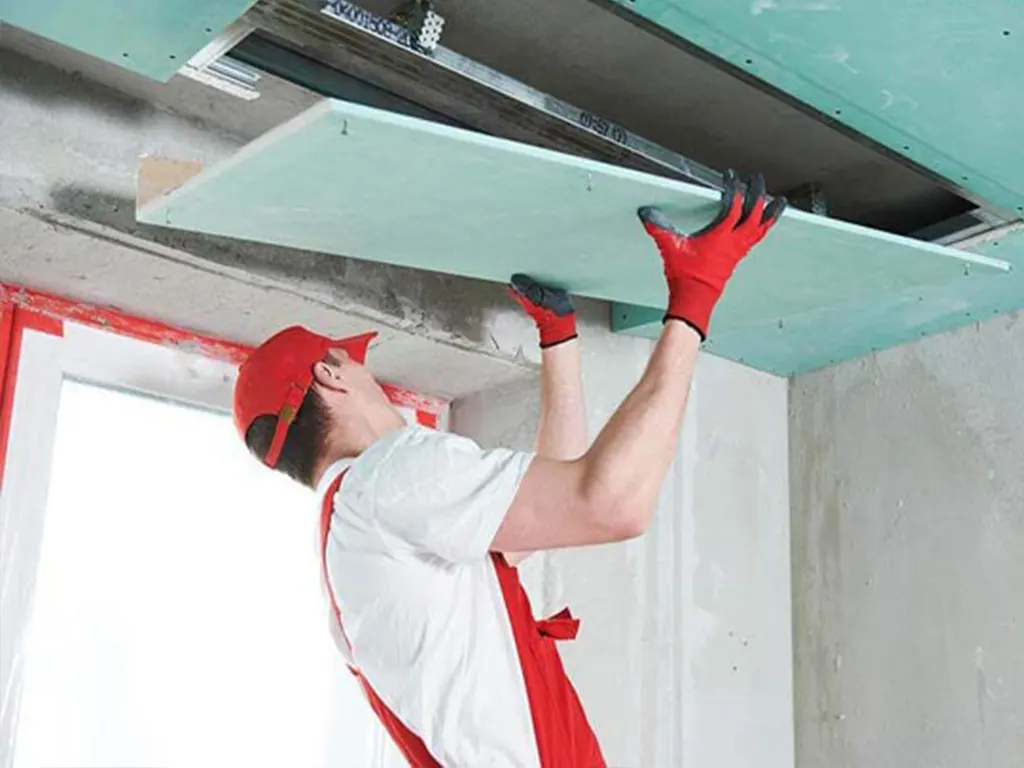
How to install gypsum board:

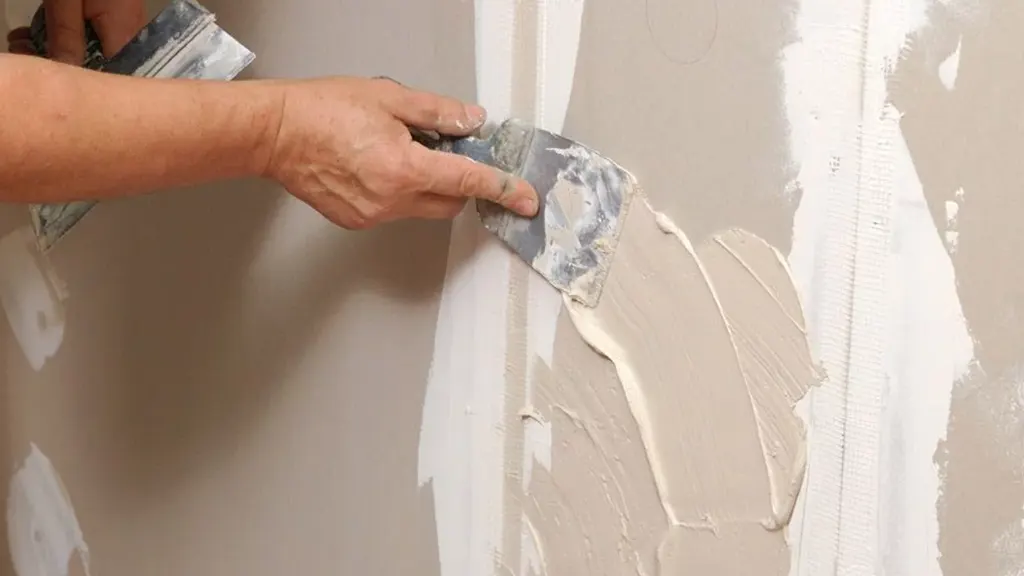
The place where the gypsum board is to be placed and its purpose is determined if it is for decoration or insulation, then bridges are installed in the ceiling at certain heights and sizes and are often made of aluminum so that it is easy to pierce. of putty to treat the joints of the panels, and to hide the screws and holes in a wonderful artistic way that depends on applying the putty and smoothing it with special tools to obtain a smooth surface of gypsum board free of any meanders and joints, and left to dry, then painted with the colors of paint intended for the walls, and it can be covered with marble, rock wool or paper The walls.

Advantages of using gypsum board:

It can be inserted into the finishing of buildings and homes at a lower economic cost than concrete walls. It is completed in a faster time and less than ordinary types of plaster and with a wonderful and beautiful end result. It does not make a mess and leaves no trace of dirt. It is easily installed and removed without fatigue or damage. Resistant to moisture and moths, and is not affected by the passage of time and does not show any cracks. It is characterized by high flexibility during its use, and the height of the ceilings can be controlled through the under bridges on which the panels are installed. It is used to make fixed or movable cutters.

The water and thermal insulation of the roofs is one of the most important finishing works that must be taken care of, as many people overlook it, and this stage of the finishing work may have the greatest impact in preserving the life of the building in general if the insulation is for the roofs, and the waterproofing of the bathrooms protects from Disasters may occur later if there are leaks in the water and sewage network inside the unit.

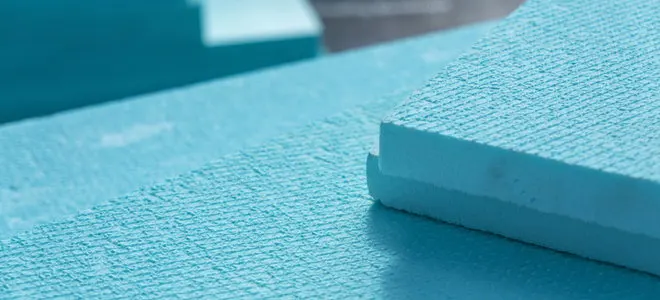
As for the roofs, there are two types of systems that are used in roof insulation, namely the traditional roof system and the inverted roof system.

In the first type (the traditional system):

the waterproofing layer is above the thermal insulation layer to protect the thermal insulator from water, especially the thermal insulation materials in which the water absorption rate is relatively high. In this system, the waterproofing membrane (waterproofing) is exposed to continuous thermal stresses resulting from The great disparity in temperature between night and day and between the different seasons of the year, which leads to the expansion and contraction of this membrane, which loses its flexibility and thus its ability to insulate as a result of drought and cracking that may befall it.

As for the second type (inverted roof system):

in which the thermal insulation is above the waterproofing layer, the thermal insulation protects the waterproofing from thermal stress and exposure to ultraviolet rays, as well as mechanical stress during and after installation, thus increasing the life span of the waterproofing membrane, and thus lowering maintenance costs. to a large extent.

And in order to use the inverted roof system, the resistance of the thermal insulation material to absorb water and moisture must be of great resistance, so that the percentage of absorption of the thermal insulation material for water must not exceed (0.2%) in relation to the volume, according to what was stated in the German specification (DIN53421)

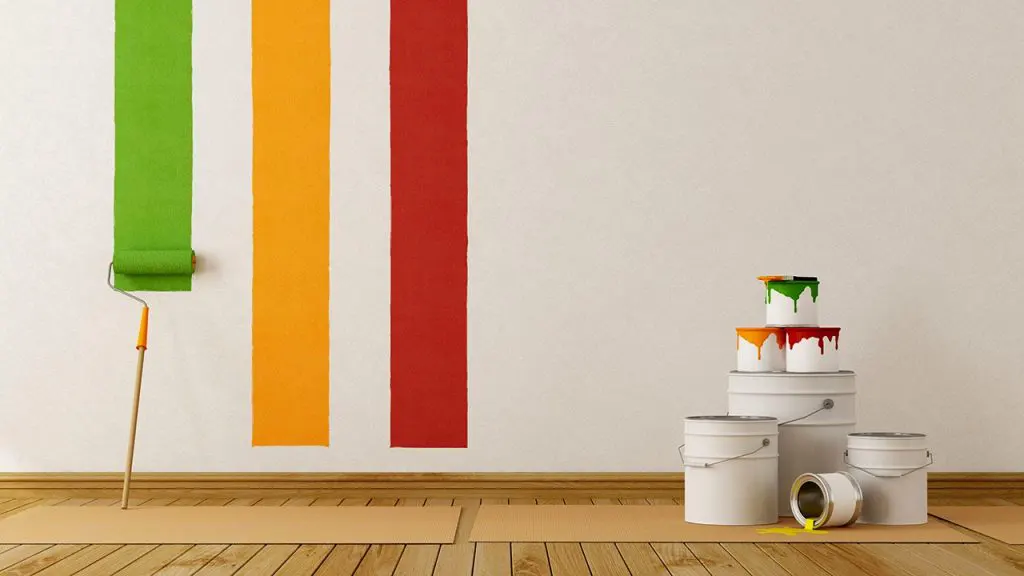
Painting the walls is one of the important finishing operations, and it is considered a difficult fun and extremely creative because of the practical and scientific steps requires from painting the walls with plastic, external paint, steps of painting after plastering, methods of painting walls with oil paints and other matters related to the work of the decorations discussed.

In order to implement this process of paint and finish works successfully, the matter must be assigned to the professional decorators and follow a number of important steps with a view of the types of paint raw materials and also knowledge of the types of walls.

The steps of implementing the painting works:

Preparation stage: This stage goes through several steps, and all the correct steps must be followed during the paint work, including smoothing the walls completely and patting the walls by making sure that all the walls are dry and in the sensitive areas of them at the edges and in the “corners” as well as making sure that there are smoothing tools from “ Sandpaper” to create smooth levels in the walls and not to cause any kind of cracks during painting, in addition to cleaning the walls completely and washing them to get rid of all dust and dirt and filling all the gaps in the walls with specialized pastes.

The stage of smoothing the walls: After the stage of plastering and plastering the walls in the steps of painting the walls, this process works to clean the walls of all the work of plastering and plastering, using an iron knife called “Ebanos”, which works on wiping the protrusions and smoothing the surfaces such as sandpaper, and it can also be used to pull the putty on the walls.

Foundation stage: It is one of the stages of the foundational paint work steps in the wall lining process and making the first face of the wall foundation “Siler” and this step is the first process directly before painting, and the wall is sanded with semi-medium sandpaper after the first face of the putty and then throwing the second face of the putty and it is sanded softly.

The stage of the lining layer: It is made of plastic material using a roller and a putty brush, and the lining layer must be made almost different or almost similar to the wall paint, and this stage can also be done using the steps of painting the walls with oil paints “Saniton oil”, which is diluted with petroleum materials, and leaves until Drying completely, as it should when making the second face of the paste, it must be done in a different color from the first face to notice all changes, cracks and wrong works and repair and pass the light completely on the faces to ensure that the process is completed successfully

Finishing stage: It is what the “discussion” does in order to complete the process of lining the final color chosen by the customer after the end of the putty operations, and in this important step, the wall is painted with the color to be implemented using a paint roller. Designed by plastic or by manually mixing the colors of the discussion to obtain the color to be used.

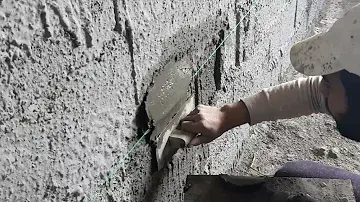
The plaster is considered as one of the most important finishing items at all, because it gives the final shape of the building, so receiving plaster works is the most accurate inspection in all construction items. plaster is a layer of cement mortar consisting of cement, sand and water only, with a thickness of from 2 cm to 2.5 cm and may increase or decrease to obtain a surface ready for finishing, completely level and achieve the required engineering properties.

And there are three basic types of plaster finishes as shown in the follows:

1 – plaster with a “Draa”: It is a non-engineering method and is followed in all buildings that are not subject to engineering supervision, where the industrialist delivers the clamshell or the white on the aluminum shield (kids) in length and width, and the shield must be completely adjacent to the conch without any light showing through the shield, but this method It has many drawbacks, as the walls are not balanced and may lead to the presence of streaks in the rooms, and the corners of the rooms are not good.

2 – plaster with a “Boag & Awtar”: It is the most common type in engineering works, but it is not completely accurate, but it is much better than the work of the oyster with the shield and the bulge. It is a bump or a concrete block, and we will explain its function later.

3 – plaster with a “Taakes & Tarbea”: It is the most accurate type and the most expensive, but in this type of oyster you get the building in a geometric shape and with high accuracy, and you get right angles and you get all the rooms squared (square or square means that the length from the right is equal to the length from the left and the width from the right is equal to the width from the left That is, it has all the properties of a square or a rectangle).

“Boag & Awtar”

Awtar is the string that is stretched over the Boag to ensure that they are all on the same level.

The Boag is a block of mortar that is rectangular in shape and at least 2.5 cm thick In each precaution, at least 3 bays are made according to the length of the perimeter, and there must be a slug at each corner, and the distance between the pit and the pit that follows it shall not be more than 2 meters.

In the beginning, the wall buildings themselves are checked with a thread scale to see if the wall is tilted or not. After that, we make a hypothetical slug about 2.5 cm thick, making sure that the lower slugs are all symmetrical on the string or string, and making sure that there is no stinger lower than the string or a stabbing stinger in the string. After that, the second spit is made at the top and it is weighed with a thread or skewer scale and a water scale.

“Taakes & Tarbea”

Axes are made to make the Boag and the strings, which are two perpendicular strings in the middle of the room and are at the level of the lower Boag. After making the two perpendicular auxiliaries, it must be ensured that they are angled by taking an angle (3,4,5) or its multiples. And it is ensured that all the dimensions of the lower buoy are the same, and thus you get the square of the room. Then the angles are ascertained by means of two perpendicular legs and an angle between them. Then weigh the upper bulge with the lower one to make sure the wall is anchored. And if the wall is high, we will make auxiliary slugs by pulling a thread between the two slugs and making one or more slugs between them.

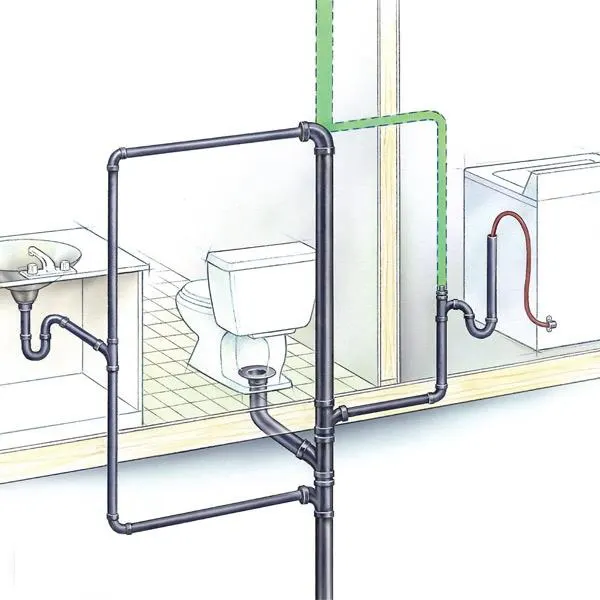
Plumbing establishments are the installation of water supply and sewage systems, and the installation of plumbing works should be completed before the beginning of the various finishing stages, so it is considered one of the most important steps that must be taken care of before starting any other finishing work in order to avoid many problems that may be extremely difficult rectify it later.

The following review the most common problems in the installation of plumbing:

First: The lack of advance engineering planning for the establishment of plumbing, despite its great importance, as all installations are based on it, which may lead to conflicting places for installing units or their engineering inadequacy.

Second: the return of the bad smell, blockage, leakage, or a damage during the finishing work, and many problems may result from this reason, although avoiding the occurrence of this type of error is very easy, but it requires trained workers with sufficient experience in the field.

Third: Choosing systems for feeding water or sewage from poor quality materials, as over time they are more prone to corrosion and leakage.

Fourth: Failure to properly water insulate the floors, which results in problems of leaks and moisture in the adjacent walls. This item is one of the most important basics of plumbing that many people overlook.

Many plumbing installation problems may pose a risk to your apartment, so you should use a specialized finishing company with great experience in all finishing works.

Stages of the installation of plumbing works in the apartment:

1. Feeding piping: The first stage is the finishing of an apartment plumbing, in which a specialist connects the feeding pipes to the main sources of water supply. It must be taken into account that the main pipes are highly tolerant to heat and humidity, and it is preferable not to expose them to sunlight before installation, and there must be an appropriate distance between the cold-water pipes. and hot water. And the actual stage of the work takes place after determining the locations of the basins and draining the washing machine, bathtub, and others.

2. Bathroom Floor Insulation: It comes immediately after the stage of installing the feeding networks, in which the floor must be cleaned well and a layer of oyster or as it is called plaster (a layer of cement that acts as an insulator for the floor) must be made, and care must be taken during the work of this layer that it does not contain any voids so as not to cause Later problems, and finishing the bathroom plumbing without hindrances.

3. Extension of drainage pipes: Extension of networks is the last stage in attempting to connect water to the kitchen and bathroom, in which the washing machine and sewage drainage are also completed. This stage is after determining the locations of the sinks and pipe outlets and determining the sizes, then purchasing the necessary tools to finish establishing the apartment plumbing.

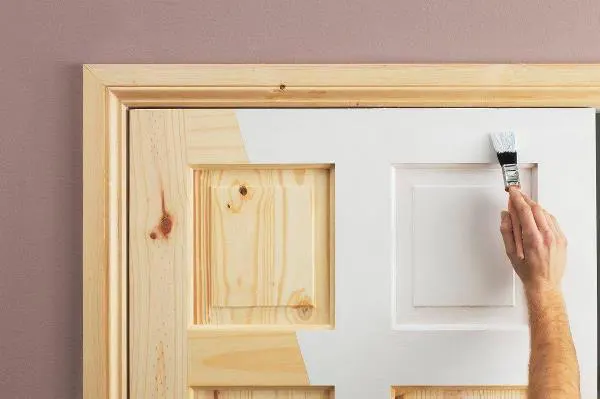
Finishing wooden doors is an important and complementary element to the decor of apartments, companies, institutions and villas, because wooden doors occupy a large area and are in places that are clear to the eye and movement, so attention must be paid to finishing wooden doors, and choosing good colors that attract attention and make others feel comfortable when looking at them.

Important tips when finishing the carpentry of the apartment:

Despite the high cost of armored doors compared to other types of doors, they are good and very suitable for the exterior door of the house as an increase in security. And if you prefer wooden doors or used them in the house from the inside, you must take into account that the width of the door should be 90 cm and a thickness of 2 inches. As for room doors, it is better to choose light wood so as not to increase the burden on the hinges and as a kind of cost reduction.

The doors must also be received using a water balance, the slight inclination that is in the beginning can exacerbate and lead to a greater slope and a bigger problem in the future. And finally, while finishing a carpentry apartment, you must make sure of all types of wood used and their quality and make sure that there are no defects during storage.

Ideal levels and heights in carpentry work:

  • The opening of the outer door is 100 cm.
  • Balcony door opening (if any) 100 cm.
  • The height of the balcony fence is 90 cm above the floor finish.
  • The bathroom door opening is 80 cm.
  • The opening for the entrance to the kitchen is 90 cm (due to the absence of a door).
  • Room doors 90 cm.
  • Rooms and hall windows 120 x 120 cm.
  • Kitchen and bathroom windows 80 x 80 cm.
  • The window seat is 100 cm above the floor finish.
  • Doors and windows lintels 220 cm above the floor finish.
  • Leave a space of 1 cm below the door leaf so that it can be opened and closed easily.